Layouts
This section describes how you can select different types of layout options available under the View Options list. The layout options are available to make it easier for you to use maps in a format that you prefer. You can use the layout that makes the best fit for your network and any existing maps you have.
To select different types of network topology layouts:
Navigate to Infrastructure > Network Topology.
Select the device from the drop-down list.The topology explorer is displayed with the base resource you selected and its neighbours including the connections, based on the Depth level.
Select the Settings icon.The available layout options are displayed under View Options.

Below are the available layout types:
- Default Layout: The default layout typically refers to the initial or standard arrangements of nodes and links when you do not specify a layout from the available view options. This layout might vary depending on the specific network topology being used.
- Standard Layout: This layout is a force-directed graph layout, meaning it constructs the graph, so links are a consistent length, with nodes and edges overlapping as little as possible and distributed evenly across the chart.
- Lens Layout: The lens layout pushes highly connected nodes into the centre, and forces less connected nodes into the periphery. The circular outline makes good use of the available space and generally creates networks that are denser than other layouts.This results in an attractive lens view which is particularly useful for large networks. Lens is the default layout for arranging items inside open combos.
- Structural Layout: The structural layout functions in a similar manner to a force-directed layout, but nodes with the same neighbouring nodes are grouped together.This makes it easier to see the general organization of a network. By giving you an overview of the clusters within a network, the structural layout allows you to see groupings and patterns without the need to focus on any one element.
- Hierarchical Layout: This layout refers to a specific arrangement of network components that follows a hierarchical structure for better management, control, and scalability.
Enable NPM Nodes in Topology
In the topology view settings, you can enable Show NPM enabled nodes to visualize which network devices are NPM-enabled within your topology map.
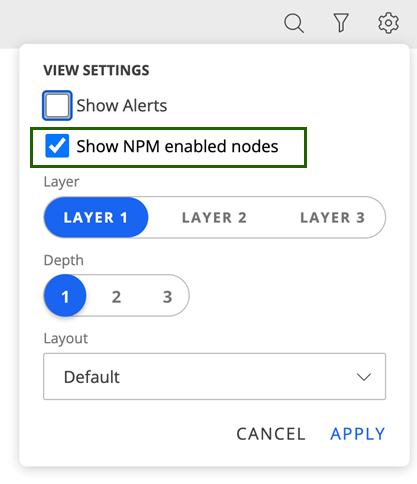
This setting allows you to visualize NPM-enabled devices in the topology map. However, only the resources selected (whitelisted) in the Resources section of the NPM integration configuration will be displayed as NPM nodes.
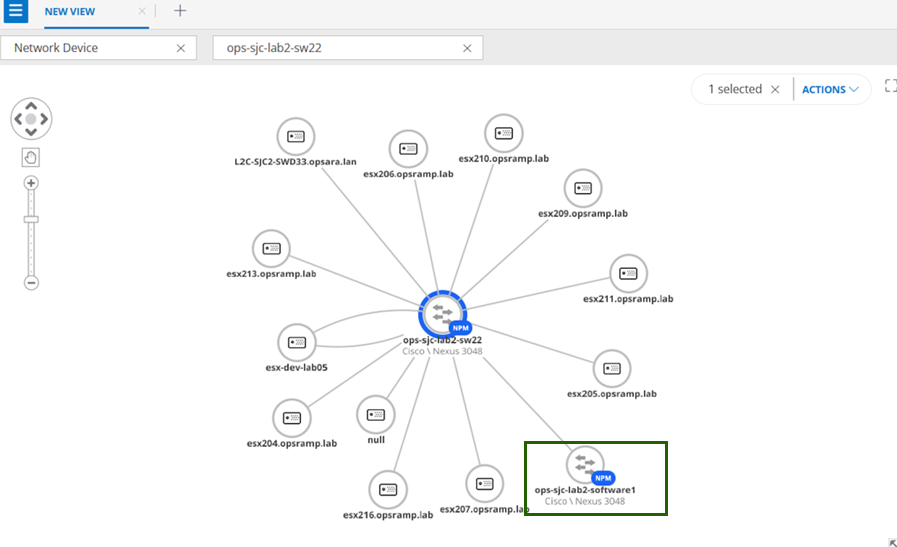
Steps to view NPM-enabled nodes in the topology
- Open your NPM integration configuration.
- Select (whitelist) the network devices you want to monitor.
- Save and apply the configuration.
- Go to the topology view and enable Show NPM Enabled Nodes in the settings.